August 18, 2006

#22 - What Kind of Aluminum is That?

I often get asked what kind of aluminum was used on vintage Airstreams. The answer is stenciled on the back of most of the original exterior skin segments on my 1956 Caravanner:

KAISER ALCLAD 2024-T3 QQ-A-362.

Kaiser is the manufacturer of the aluminum sheet. Alclad means the 2024 alloy has a thin layer of 99% pure aluminum cladding on both sides. T3 is the temper of the alloy. QQ-A-362 is some sort of federal standard specification for corrosion resistance, or something. I believe the QQ system has been replaced by ASTM numbers. Gotta look that one up!

Altough it isn't marked on the sheet, I believe all Airstream skins through the 1960s and probably even the 1970s were .032" thick.


Back of Aluminum Sheet

If you ever wondered what other metals are in 2024 aluminum alloy, (you need to spend less time thinking about Airstreams and) here's your answer as percentages of the total weight:
  • Aluminum = 90.7 - 94.7%
  • Copper = 3.8 - 4.9%
  • Magnesium = 1.2 - 1.8%
  • Manganese = 0.3 - 0.9%
  • Iron = Max 0.5%
  • Silicon = Max 0.5%
  • Zinc = Max 0.25%
  • Titanium = Max 0.15%
  • Chromium = Max 0.1%
  • All Others = Max 0.15%

August 14, 2006

#21 - Appliance Gallery

You can see from this collection of appliance and tank photos why I say there's almost nothing worth saving. I briefly thought about trying to bring that fridge back to life...but then I smartened up.


Outside and Inside of 1960s Fridge


1960s Stove


Deluxe Glass Lined Speed-O-Matic Water Heater


Extreme Black Tank with Pressure Gauge!


The gas tank in the scrap pile was used as a gray tank!

August 12, 2006

#20 - Assessing Frame Rust

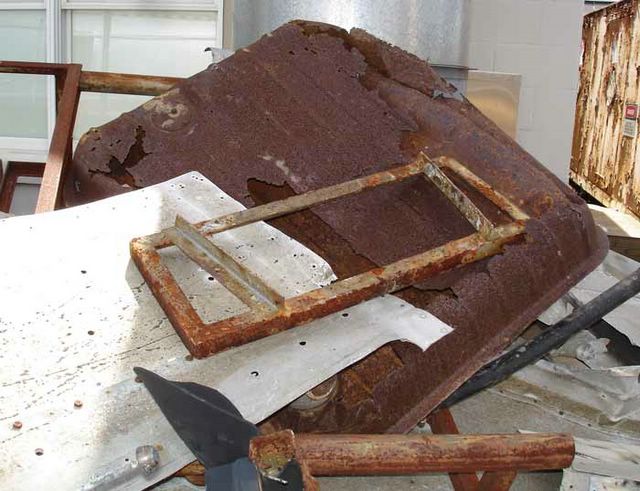
A close inspection of our chassis yielded some expensive news: major repair will be necessary.

With a 50-year-old trailer I expected to find significant rust on the steel frame. I was hoping we'd need a few patches, a few repaired welds, a good wire brushing and some rust-neutralizing paint. Unfortunately, we've got bigger problems.

While none of the frame members have separated from each other, we can see rust-through in both the C-channel cross members and (more significantly) in the box-channel rails running the length of the trailer. The back three feet of the frame are really bad. In addition to rust perforation, the last cross member was drilled several times for various plumbing and electrical needs.

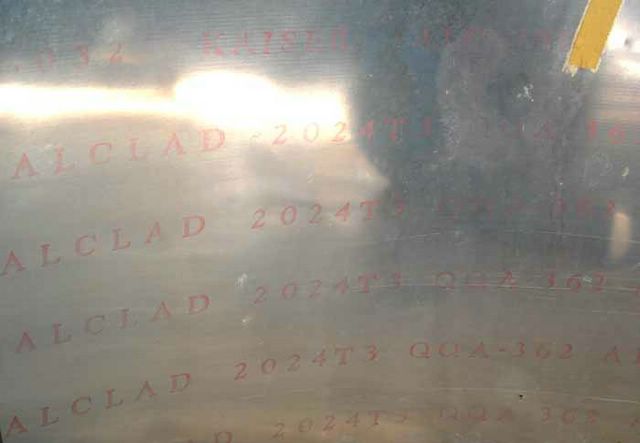
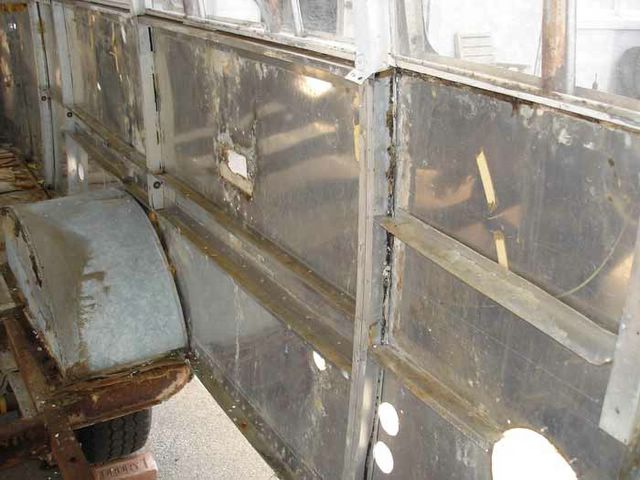
You may have to click on the photos below to see the detail.


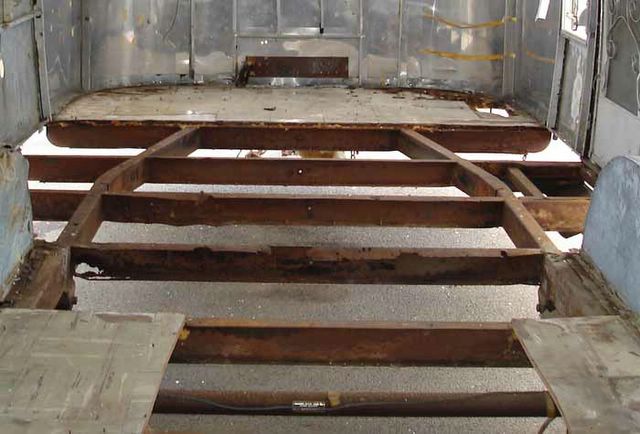
Center Section of Chassis has Rusty, but Repairable, Cross Sections


Rear Section of Chassis is So Bad it Must be Replaced

Replacing a cross member can be done by simply cutting the old one out and welding a new one in its place. The same is true for outriggers. But replacing the main rails is really impossible without effectively building a new frame.

After talking it over with Colin, I decided not to have a new frame built from scratch. Instead, we'll have Colin's welder use a combination of techniques to repair and strengthen the original chassis. It may not be as pretty as a new frame, but it will be just as strong and save a lot of money in time and materials.

Here's what Colin's crew will do:
  1. Cut off and entirely replace the last few feet of the chassis that are the worst. We'll have all new rails, outriggers and cross members in the back.
  2. Replace a couple cross members in the middle of the trailer that are beyond patching.
  3. Patch rust holes in all the other cross members and main frame rails that are generally good enough to save. The rust will be cut out and new steel welded in place.
  4. Slide new box channel inside the original box channel rails to strengthen them significantly.
This last step of reinforcing the main rails by lining them with slightly smaller box channel is a rather new tecnique Colin has developed. He's used it on other trailers with great success. It does add a little weight, but it's the most cost-effective way of getting an extremely strong frame without replacing it.

August 11, 2006

#19 - Completely Gutted

Yesterday, I drove to Plattsburgh to finally get a look at the results of Santos' and Colin's gut job. Almost everything but the metal is gone. As Colin said with a wink, "It's ready to be towed to the scrap yard." A little floor was left for now to provide some structural rigidity to the shell/chassis during restoration.

In gutting it, Santos filled two dumpsters plus he collected at least a dumpster full of scrap metal. You can see in the photos below how completely they gutted it. The aluminum sheets from the lower inside walls have been saved for reuse where possible.

Here's Colin standing inside the shell. You can see the holes where the Bargman No. 6 taillights were temporarily removed. Eventually the upper cabinets and the rest of the inside walls have to come out so new wiring and insulation can be installed. That will happen after the frame is repaired and the new floor is installed.


Looking Towards Rear


Looking Towards Front


Rear Curb Side


Street Side